Why the foundation matters more than the kit
Most greenhouse problems start at ground level. A base that is out of level twists the frame, so doors stick and panels pop out in the first storm. A base that isn't anchored lets the wind get underneath. And a base that sits on soft ground sinks unevenly over a winter of freeze and thaw. Spend your first weekend here and the rest of the build is easy.
The good news: you rarely need a full concrete slab. You need three things: level, firm and anchored.
What each kit includes
Check this before you order, because it changes your shopping list. From the pages we read on November 12, 2026:
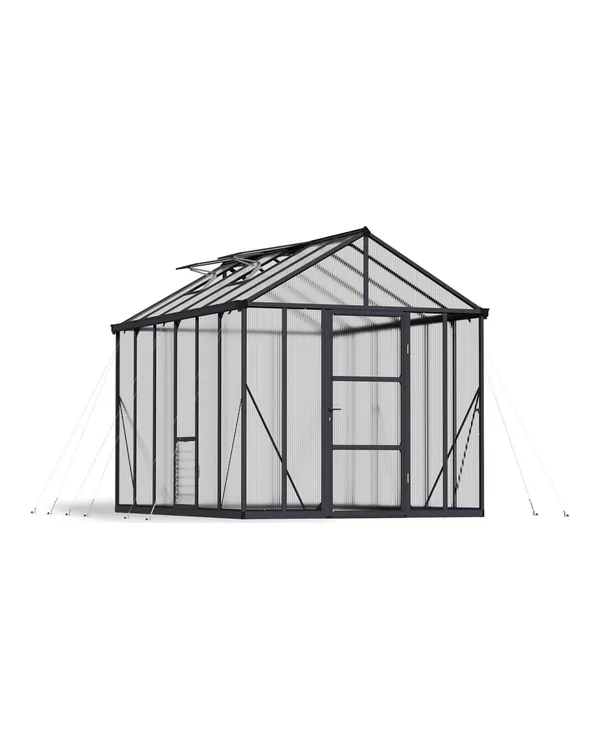
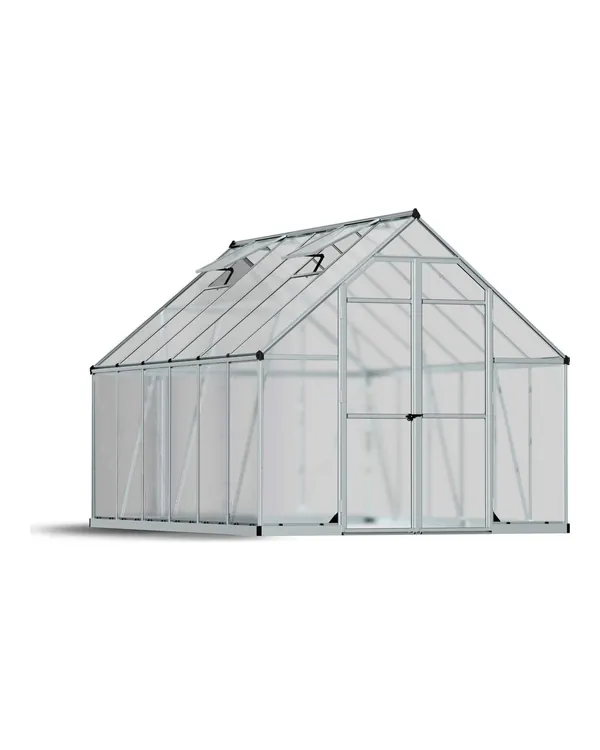
- Steel base included: the Palram Glory (with a ground anchoring system), Essence, Mythos, Hybrid and Balance, both Outsunny kits (the 8x16 adds foot stakes) and the Scandiglas, whose base kit anchors to soil or concrete.
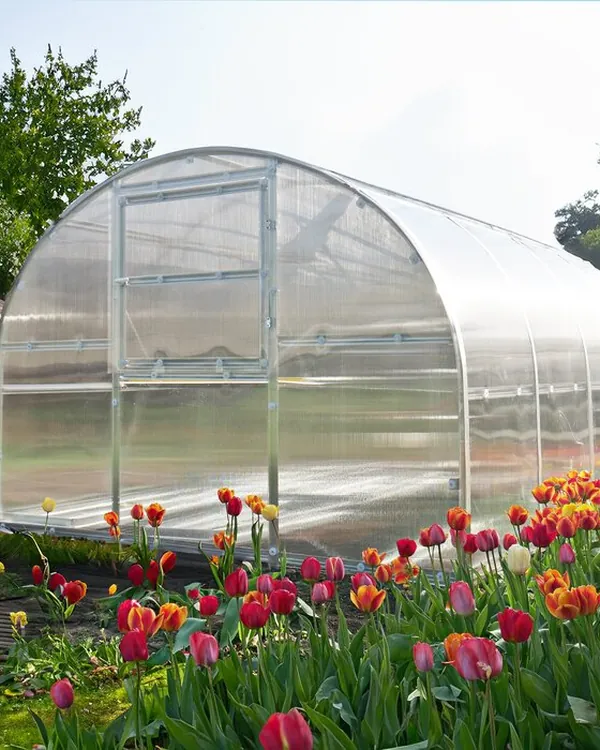
- Arches into the ground: the Bloomcabin High Tunnel, where each arch goes about 13.8 in (35 cm) into the soil.
- No base listed: the YourGreenhouses Polycarbonate and Arrow, and the Snap & Grow, whose anchor kit was $129 extra at Planet Greenhouse.
- Concrete or heavy timber required: the Rion Grand Gardener, with an optional base kit at $469.
The four foundation options
1. Pavers or patio slabs
The classic for small aluminum kits like a 6x8. Dig out the turf, lay a compacted bed of crushed stone and sand, then set pavers dead level under the base rails. You can pave the whole floor or just a frame and a path, leaving soil beds inside.
2. Gravel pad with a timber frame
Our favourite for most 8x12 kits. Build a frame from pressure-treated timber, level it, fix it down with ground stakes or rebar, fill the inside with gravel and screw the greenhouse base to the timber. Gravel drains, holds a bit of warmth and is kind on knees.
3. Concrete slab or footings
The most permanent option, and the one Canopia asks for on the Rion Grand Gardener (a concrete pad or heavy timber foundation). A full slab is overkill for most kits; a perimeter footing or a narrow concrete strip under the base does the same job with less concrete. If you pour concrete, check local permit rules first.
4. Ground anchors only
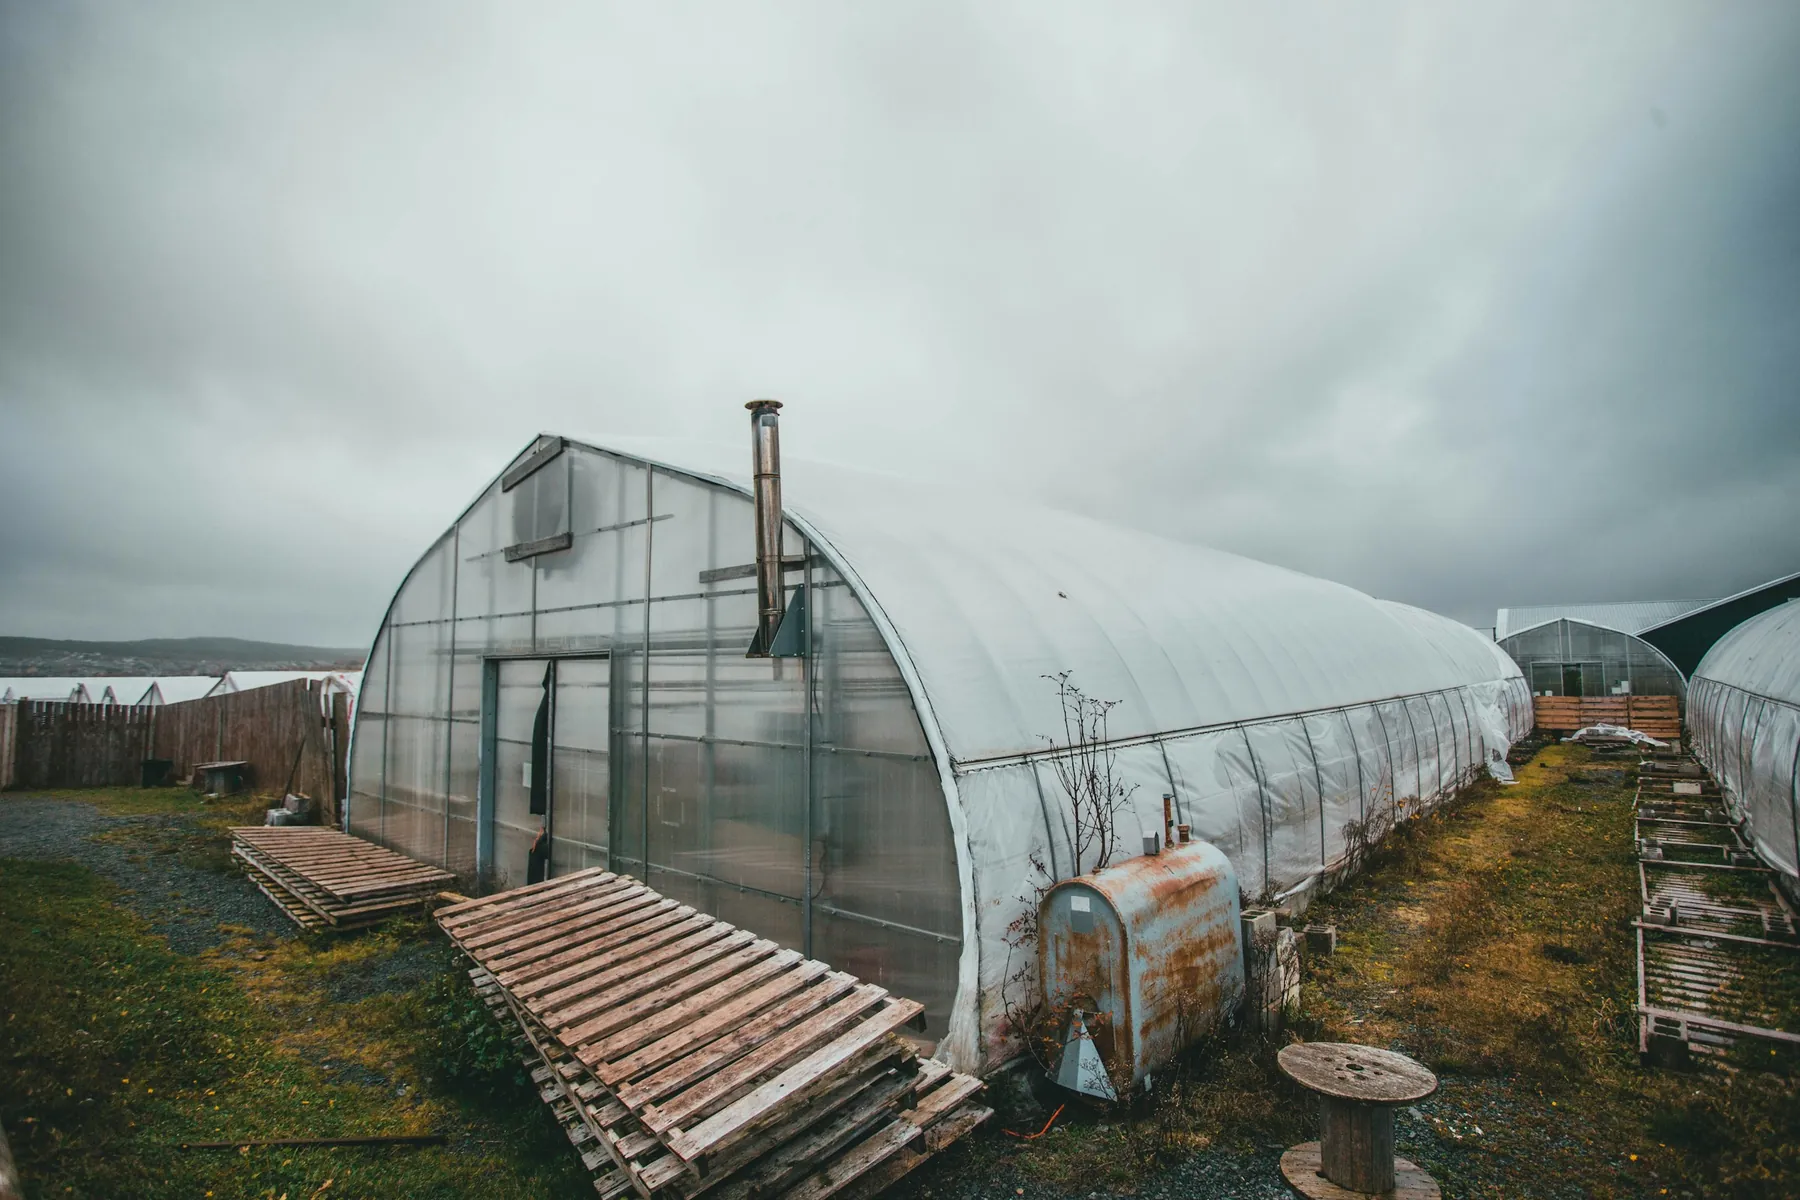
For tunnels, the anchors are the foundation. The Bloomcabin arches go into the soil; other tunnels use stakes or screw anchors. You still need level ground along the arch lines.
Step by step: a timber and gravel base
- Mark out the footprint of the base, plus a few inches all round, with string and pegs.
- Strip the turf and dig out 3 to 4 in of topsoil so you reach firm ground.
- Build a frame from pressure-treated timber to the exact outside size of the greenhouse base, screwed at the corners.
- Set it in place and level it along every side, packing under the low spots with stone, never soft soil.
- Check the diagonals so the frame is square, then fix it down with ground stakes or lengths of rebar driven through drilled holes.
- Fill inside with compacted crushed stone, then a top layer of pea gravel, or leave soil where you want beds.
- Screw the kit's steel base to the timber and check level once more before the frame goes up.
It is a satisfying Saturday job for two people, and it gives any of the steel-based kits on our list a solid footing.
Getting it level and square
Level means level over the whole length, not just at each corner. Use a long straight board and a spirit level, or a water level for longer runs. Square means the diagonals match: measure corner to corner both ways and adjust until the two numbers agree. Do this on the base before a single panel goes in; fixing it later means taking panels out.
Anchoring against wind
Wind is the real enemy of a light greenhouse. Palram's dealer ties the 56 mph rating of the Mythos and Hybrid to the anchoring kit, and Aosom recommends ground bolts and a sheltered wall for the Outsunny 6x8, rated at about 27 mph. Whatever your kit, fix the base to something heavy: timber that is staked down, concrete, or screw anchors. If you live somewhere exposed, choose a kit with a strong published wind rating, like the Scandiglas (115 mph) or the YourGreenhouses tunnels (65 mph); our winter ranking sorts them.
The mistakes we see most
Skipping the level check. A quarter of an inch out at one corner becomes a door that won't close. Building on a low spot. Water collects where the ground dips, and a greenhouse sitting in a puddle rots timber and rusts fixings. Forgetting access. Leave room around the base to reach the panels and gutters. Trusting the weight of the frame. Aluminum kits are light, and a spring gale can shift an unanchored one. Pouring concrete too soon. Wait until you have the kit and its manual, so the slab or footing matches the real base dimensions.
What to put on the floor
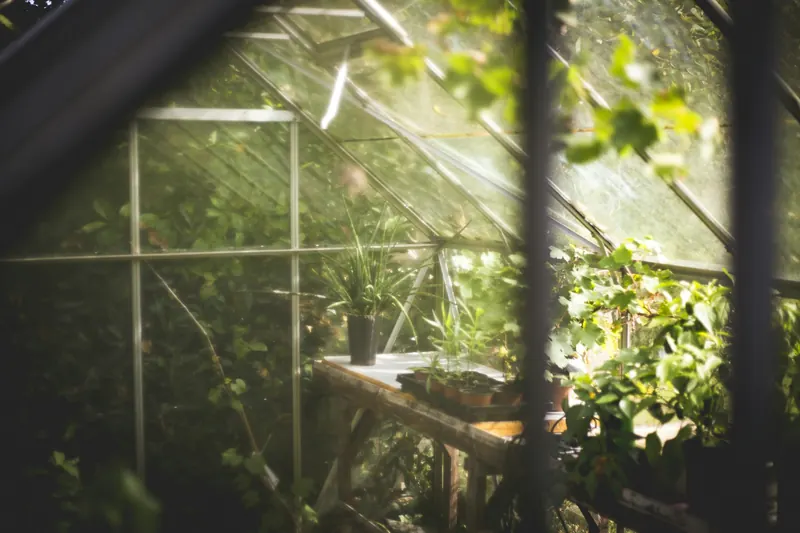
Inside, you have choices. Soil beds let you grow tomatoes straight in the ground. Gravel drains and stays tidy. Pavers give you a solid path and a place for a heater. Many gardeners mix them: a paved center path, gravel under the benches, soil beds along one side. Whatever you choose, keep a gentle fall so water drains away from the door.
The kits in this guide, side by side
| Greenhouse | Palram Glory 8x129.5/10 | Palram Essence 8x129.0/10 | Bloomcabin High Tunnel9.1/10 |
|---|---|---|---|
| Price | $4,349 | $1,899 | $3,372.97 |
| Size | 8' x 12' · 95.6 sq ft | 8' x 12' · 95.4 sq ft | 9'11" x 13'2" · 129 sq ft |
| Price per sq ft | $45.49/sq ft | $19.91/sq ft | $26.15/sq ft |
| Panels | 10 mm polycarbonate | 4 mm polycarbonate | 6 mm polycarbonate |
| Snow load | 20 lb/ft² | 15 lb/ft² | 32.8 lb/ft² |
| Wind rating | 60 mph | 56 mph | Not stated |
| Peak height | 8'10" peak | 7'7" peak | 6'11" peak |
| Warranty | 10-year | 5-year | 12-year |
| Buy | See price | See price | See price |